Until recently, my mailbox was flooded with emails. You’ve experienced this before: every day, the number of unread messages in my mailbox increases, no matter how hard I try to process them as they come in, there is one left, then two, then three. It’s endless.
Even when I take the time to process my inbox every day, it never stops. There is a little bit of “Sisyphus myth”: you empty your mailbox every day, only to find it filled up again the next day.
Even if I keep it for a few days, after a week, it starts again, 150 unread emails. Even if I unsubscribe from most of my newsletters and spam services, I still get a lot of notifications, processing reports, delivery info, invoices, etc.
It’s stressful, because in the middle of these batches of mildly important emails, there are often very important and urgent emails that need to be dealt with NOW. From clients, colleagues, application alerts, etc.
Gmail’s default four category system is nice, but not powerful enough and not fine enough.
I found a solution that seems to work for some time and allows me to implement the “Inbox Zero in 5 minutes”. In this article, I describe how I got my inbox under control by using Gmail filters to effectively organize and prioritize my emails.
Use labels and filters to automatically sort your Gmail
Labels are Gmail’s folder system, which appears on the left. They work more or less like folders.
So I create some labels for the different types of messages I receive: CLIENT, COLLEGUES, SYSADMIN, TO BE DELETED, etc.
Personally, I also organize my labels in a hierarchy: you can create sub-labels, how CLIENT/A, CLIENT/B, etc.
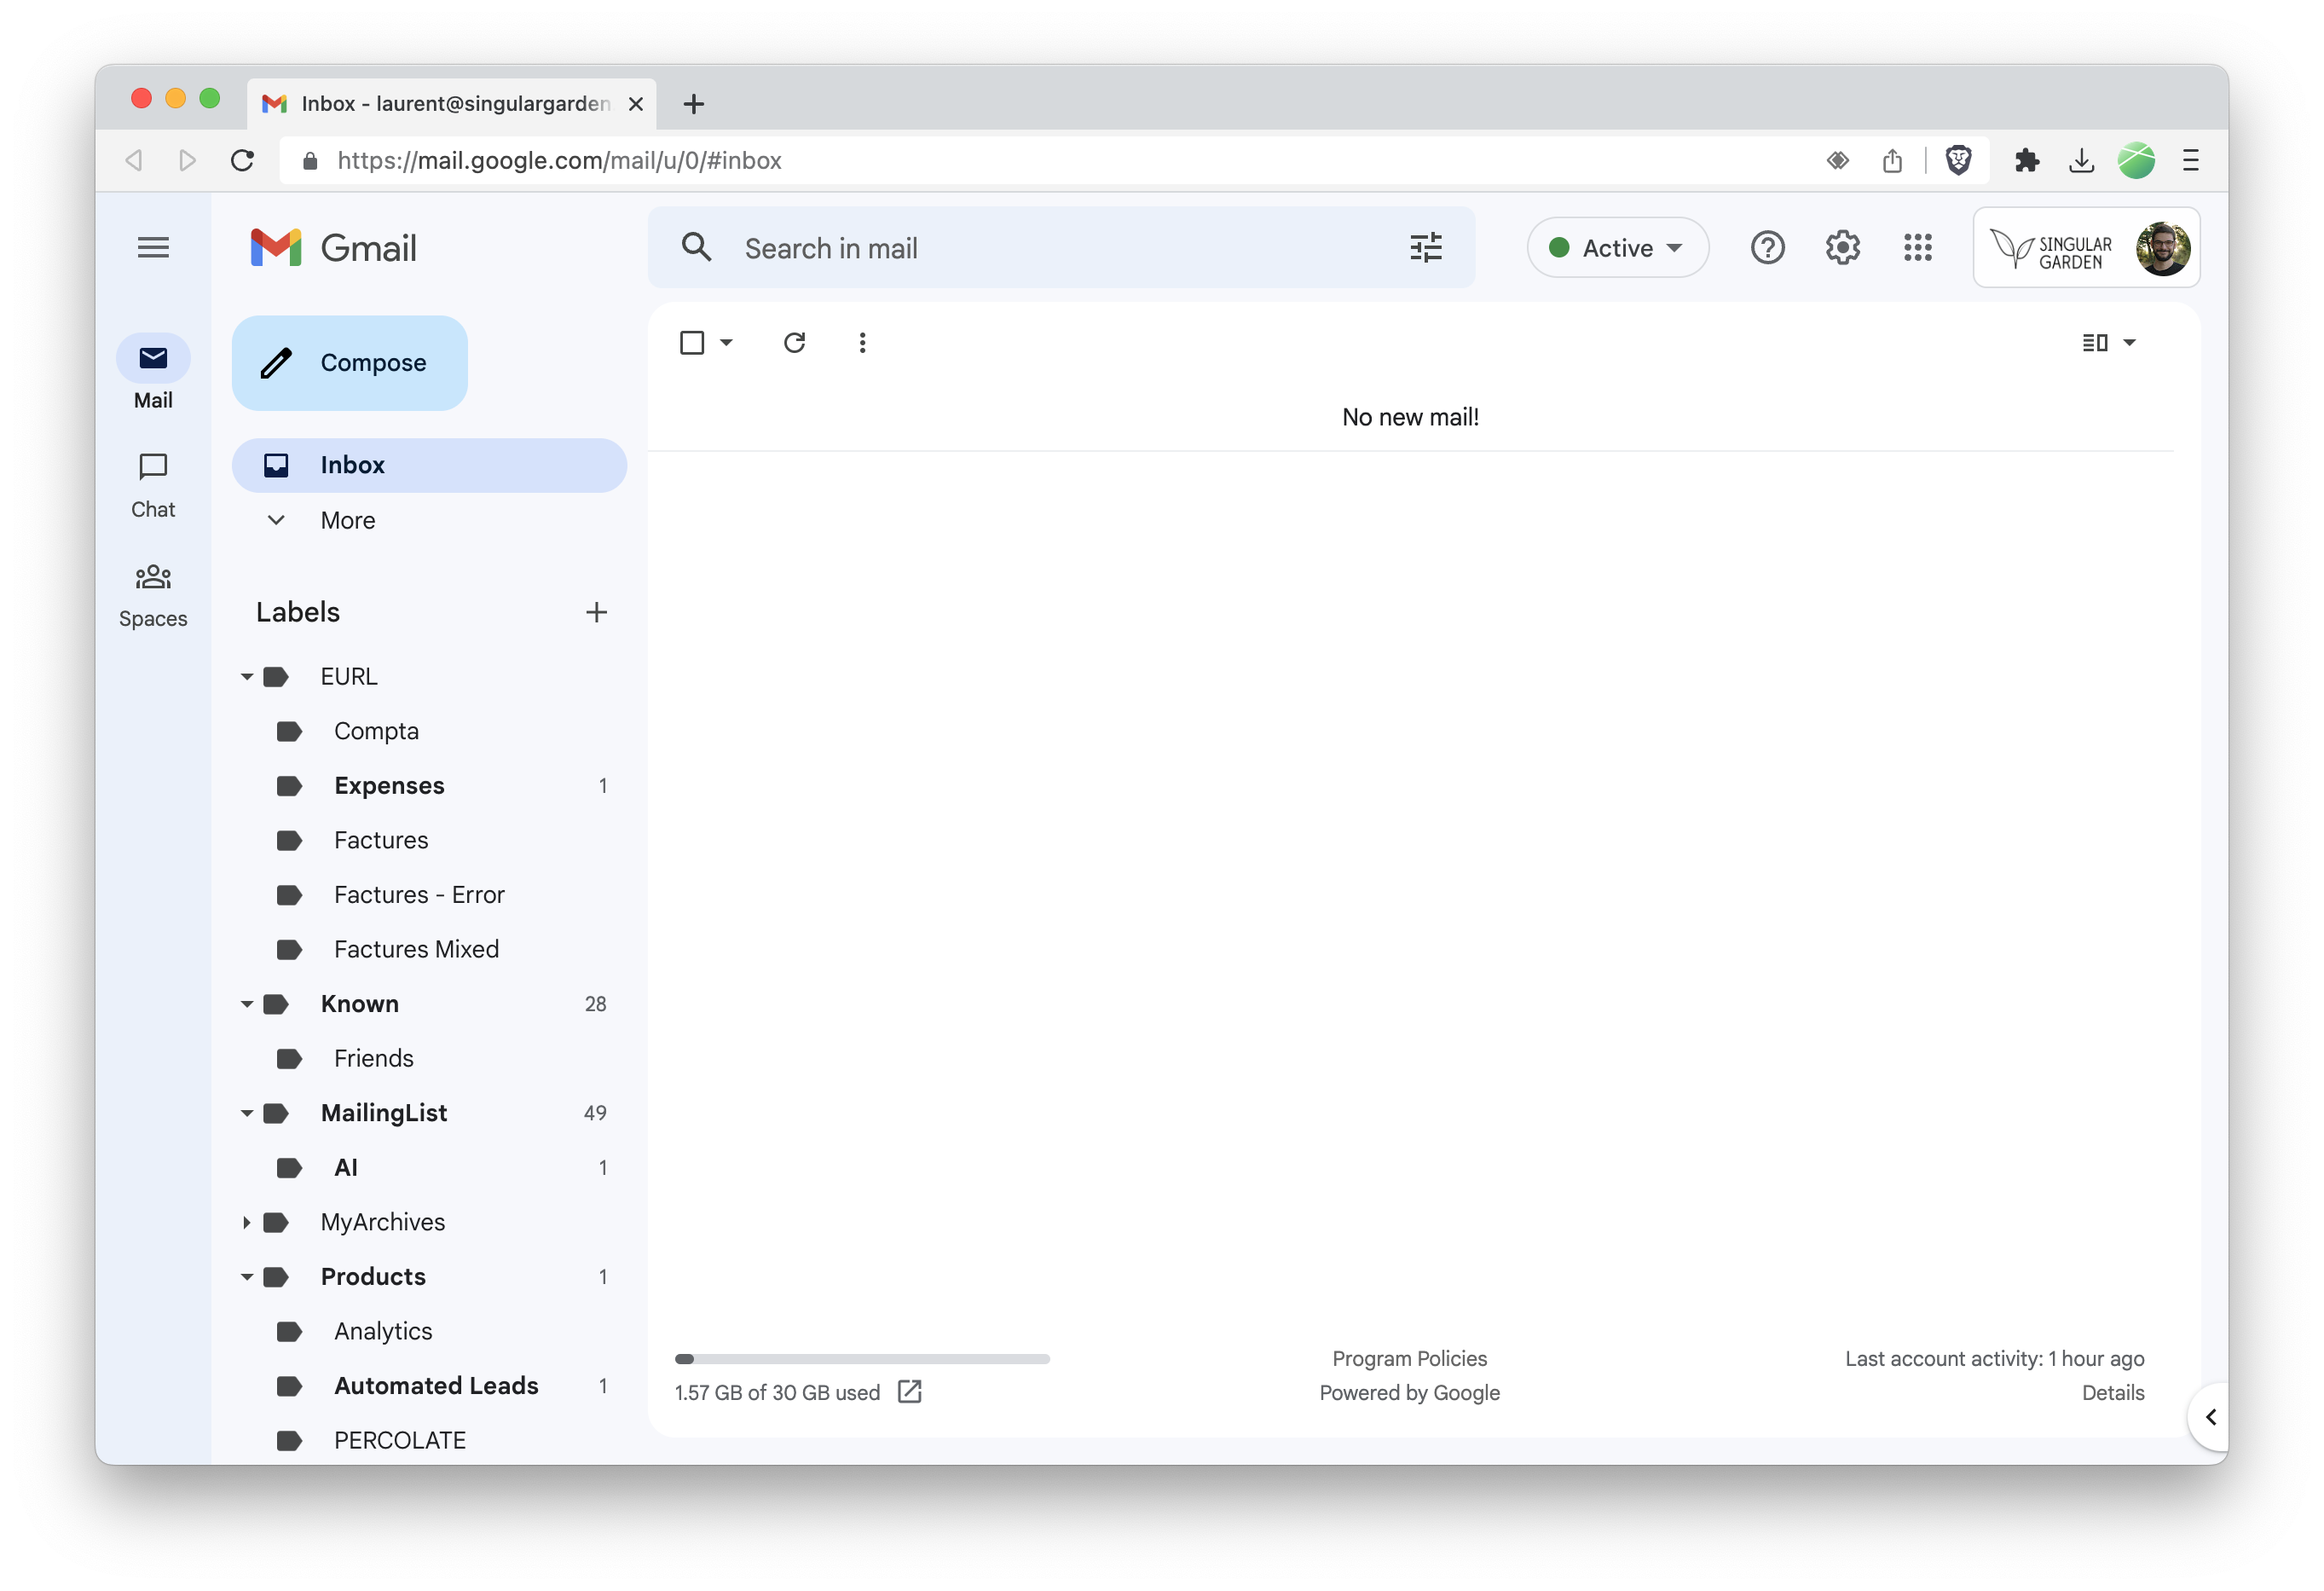
My inbox this morning.
You can also configure them to hide when they are empty which makes your GMAIL even more readable.
Then, Gmail’s filters allow you to automatically select messages that arrive in the box and automatically move them to the right label. You can filter based on subject, message body, sender, recipients, etc.
Here are some ideas of filters I use:
- All mails coming from "@clientA.com" are moved to the CLIENT/clientA label,
- All mails coming from “sentry.io”, an alert service for my applications, are moved to SYSADMIN,
- All mails coming from “info@twitter” end up in my TO BE DELETED folder, for example.
You can even add automatic operations, like forwarding a message automatically:
- All emails that come from Amazon with an attachment and the word “invoice” are moved to PAPERASSE/Invoice and I forward them to my pro banking service, for example.
Example of a label structure
To create a label in Gmail, follow these simple steps:
- Open Gmail in your browser.
- On the left, click “More” to see more options.
- Click “Create Label” at the bottom of the list.
- Give your label a name and optionally choose a parent label.
- Click on “Create”.
Here is an example of a structure I use:
- Known
- Clients
- A
- B
- ...
- Sysadmin
- Calendar
- Sentry
- ...
- Singular garden
- Invoices
- Personal
- Home
- Bank & Insurance
- Government
- Craigslist
- Communities
- Mailing lists
- Lyon
- ...
- Products
- whena.re
- percolate
- ...
- Mailing lists
- AI
- Delete
Some notes:
- To Delete: my secret weapon against spam, many services send mails that are useless and don’t make unsubscribing easy, I move them in automatically.
- Known is my second secret weapon: all the emails that are not urgent, but that I know, I put them in Known. As a result, my inbox becomes the place where I receive new emails that I’ve never seen before. Easier to filter the wheat from the chaff like that.
With these labels, you can easily see how I handle my mails: For example, I check my client folder, even on vacation. And if I have 200 unread mails in a “MailingList” folder, I mark everything as read, I don’t lose much.
Of course, I don’t sort my incoming mail by hand, otherwise I lose the advantage of prioritizing. I use filters to do it automatically.
Use the Gmail filter system
Gmail’s filter system allows you to automatically sort your emails according to your criteria. Here is a step-by-step guide to creating and applying filters:
- Open Gmail in your browser.
- Click on the cogwheel at the top right, then select “View All Settings”.
- Go to the “Filters and Blocked Addresses” tab.
- Click on “Create a new filter” at the bottom of the list.
- Fill in the search criteria to determine which emails will be filtered (e.g. sender, recipient, subject, etc.).
- Click on “Create a filter with these search criteria”.
- Choose the actions to apply to the matching emails (e.g. apply a label, mark as read, delete, etc.).
- Click on “Create a filter”.
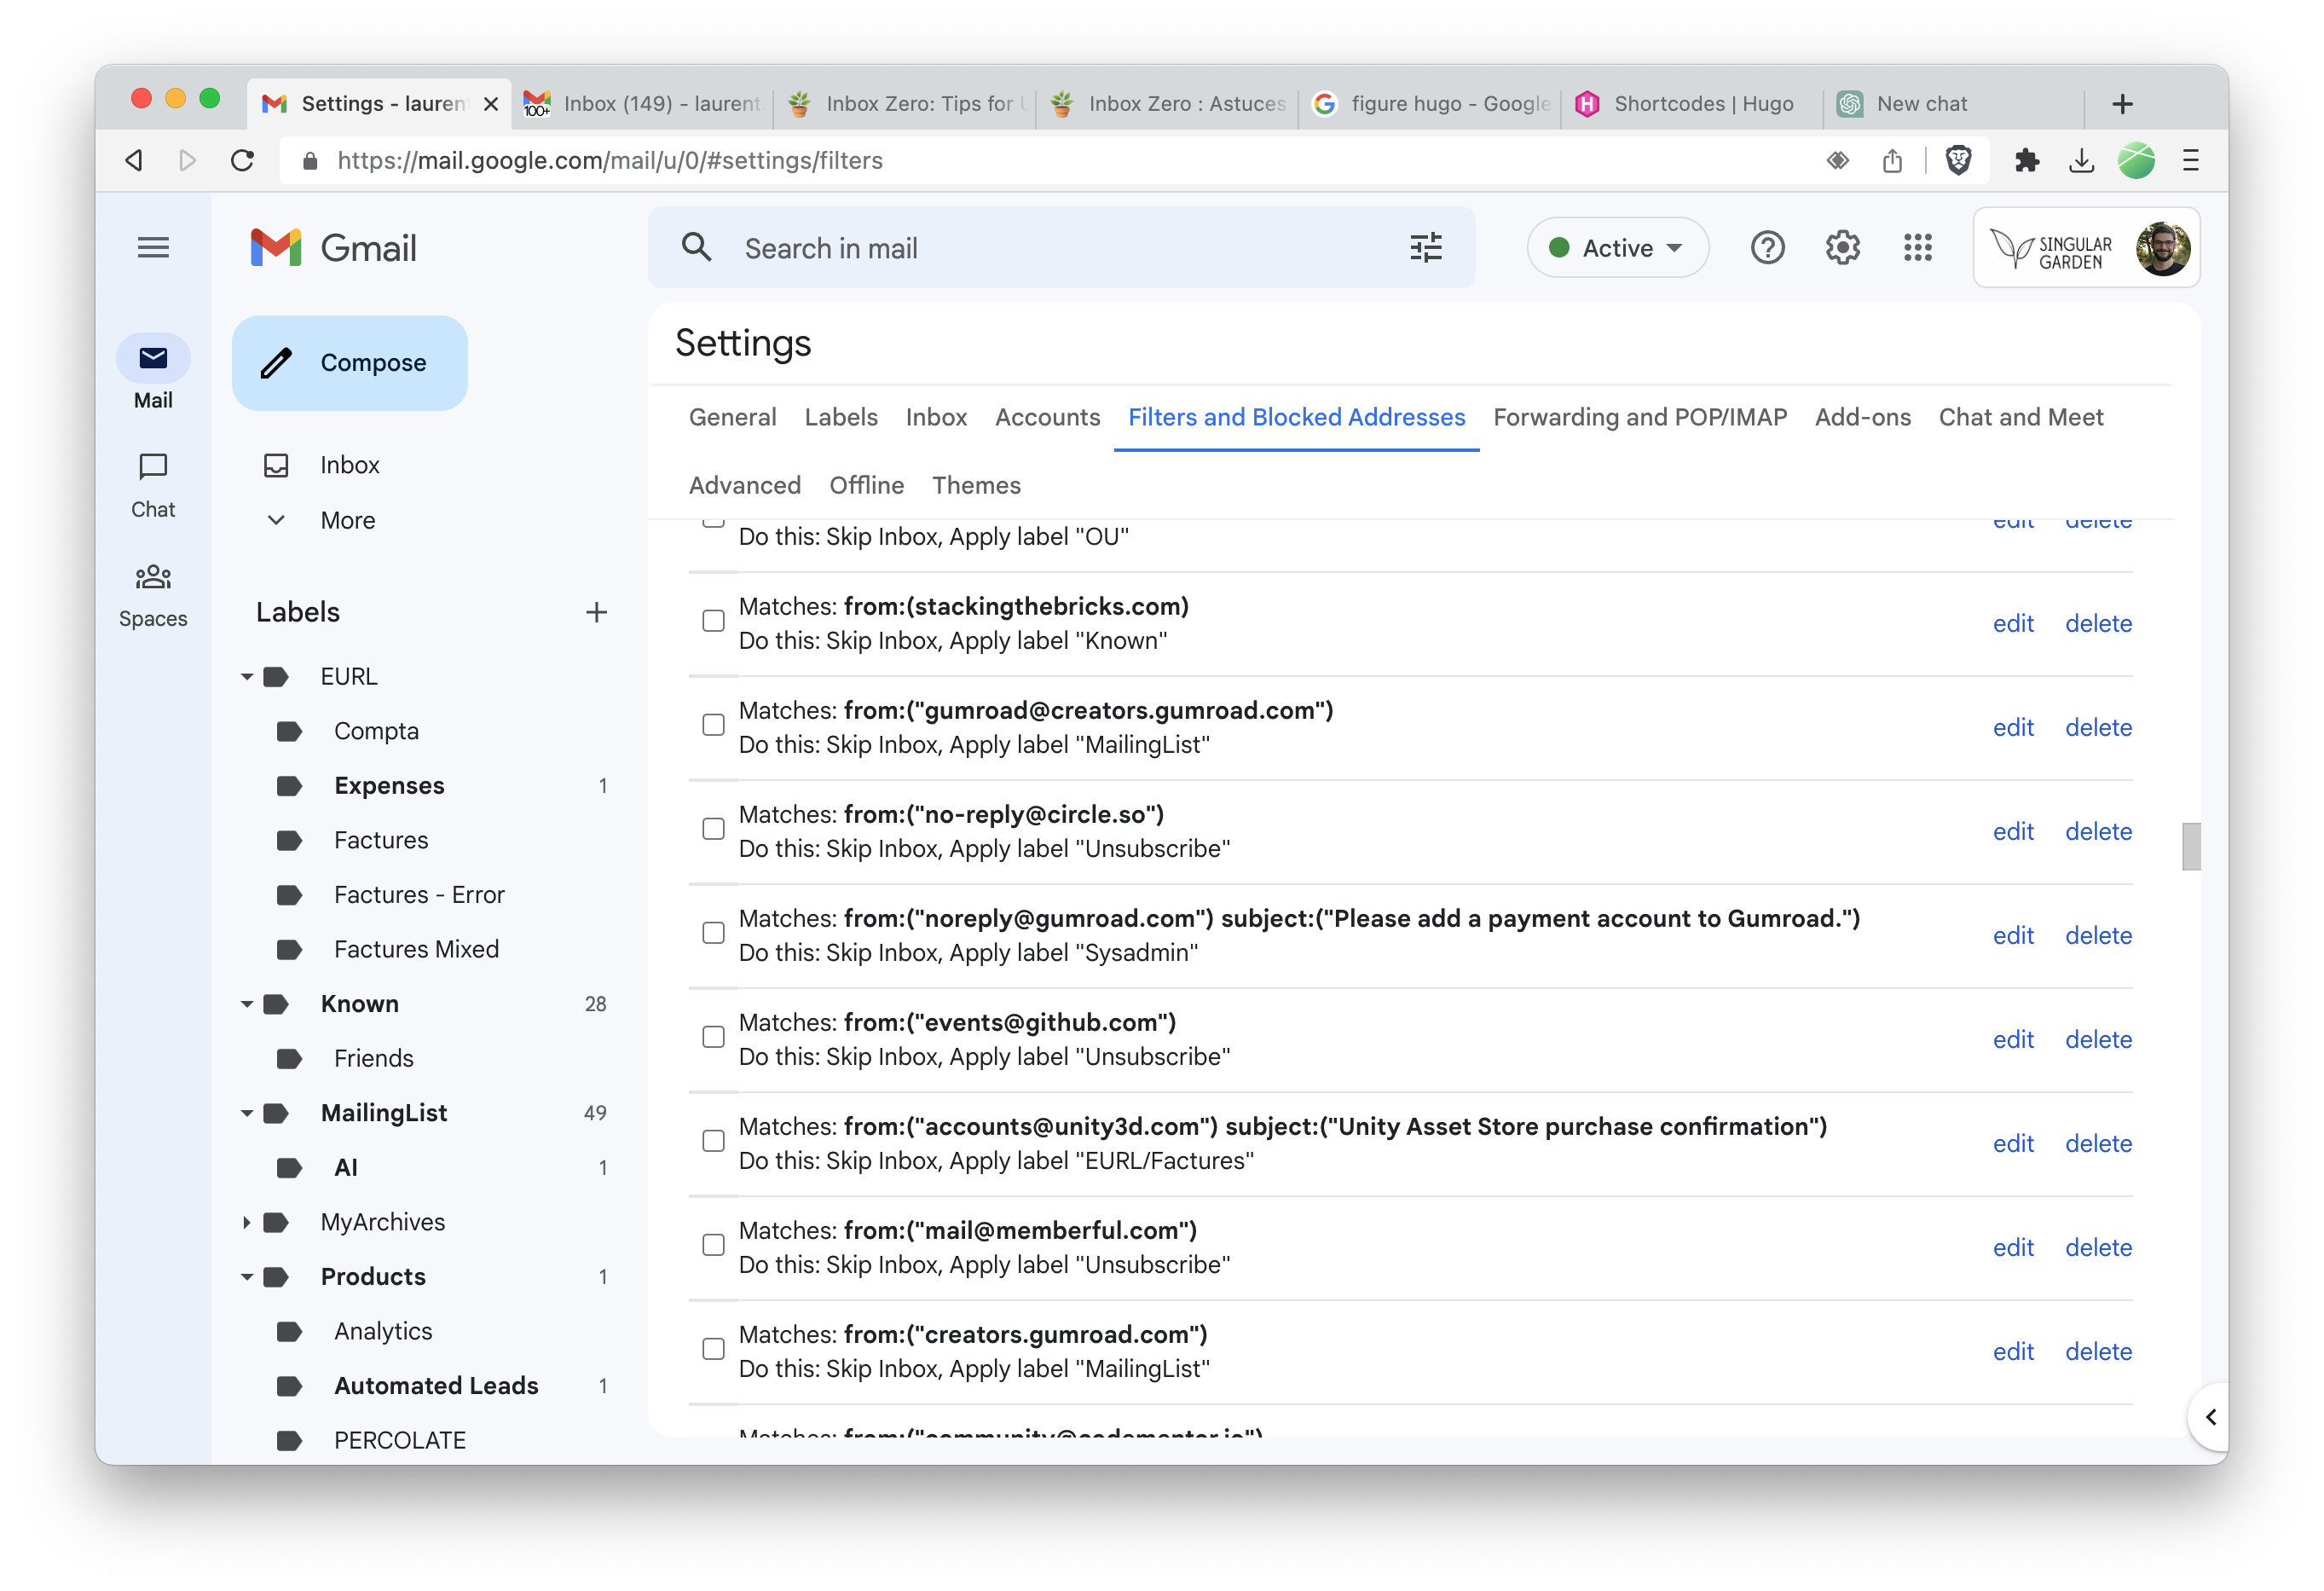
GMAIL's Filters Editor.
Here are some examples of filters, related to the labels described above:
- To filter all emails from @myclient.com and move them to the “Clients/A” label:
- In the search criteria, enter “@myclient.com” in “From”.
- In the actions, check “Apply label” and select “Clients/A”.
- To filter all emails from Amazon with an attachment and the word “invoice”, move them to the “Singulargarden/Compta” label and forward them to your pro banking department:
- In the search criteria, enter “amazon” in “From”, check “Has attachments” and enter “invoice” in “Contains words”.
- In the actions, check “Apply Label” and select “Singulargarden/Compta”, then check “Forward to” and enter the email address of your pro banking service.
- To filter all emails from “info@twitter.com” and move them to the “To be deleted” label:
- In the search criteria, enter “info@twitter.com” in “From”.
- In the actions, check “Apply label” and select “To be deleted”.
The option “Skip Inbox (Archive)” is very useful to simplify your inbox by preventing filtered emails from appearing in the list of unread emails. Also, consider checking “apply filter to matching conversations as well” to apply the filter to emails already in your inbox.
At first, you may have to create a lot of filters to organize your inbox. However, I have a trick to speed up this process, which I describe later in the article.
Inbox Zero in 5 minutes
With this system, all emails with similar priorities are grouped together. For example, anything that comes in my paperwork, I process on Wednesday, and ignore the rest of the time.
You have to adapt the system to your needs, the important thing is to avoid context switching: stay focused on similar tasks while processing the mails. You can do it gradually by processing your inbox quietly.
The method is adaptable to many situations, whether it is for a business box with clients, a personal box with many notifications, or a mixture of both.
I save precious time with this.
Even more efficient with Percolate Mail
Adapted to the needs of professionals, freelancers, remote workers, entrepreneurs and customer support, Percolate Mail is an application that allows you to create these filters and manipulate them very quickly.
The idea is very simple: instead of creating the filters by hand, you move a few emails into the right labels, then Percolate deduces the filters you need. This allows you to create that “Five Minute Inbox Zero” without thinking about it. You run the app once or twice to create the filters and the rest of the time you stay in Gmail.

Laurent Senta
Founder of Singulargarden, I help my customers release products without creating giant piles of code.
I worry about overly-engineered software, and I hate seeing humans waste their time and energy.
